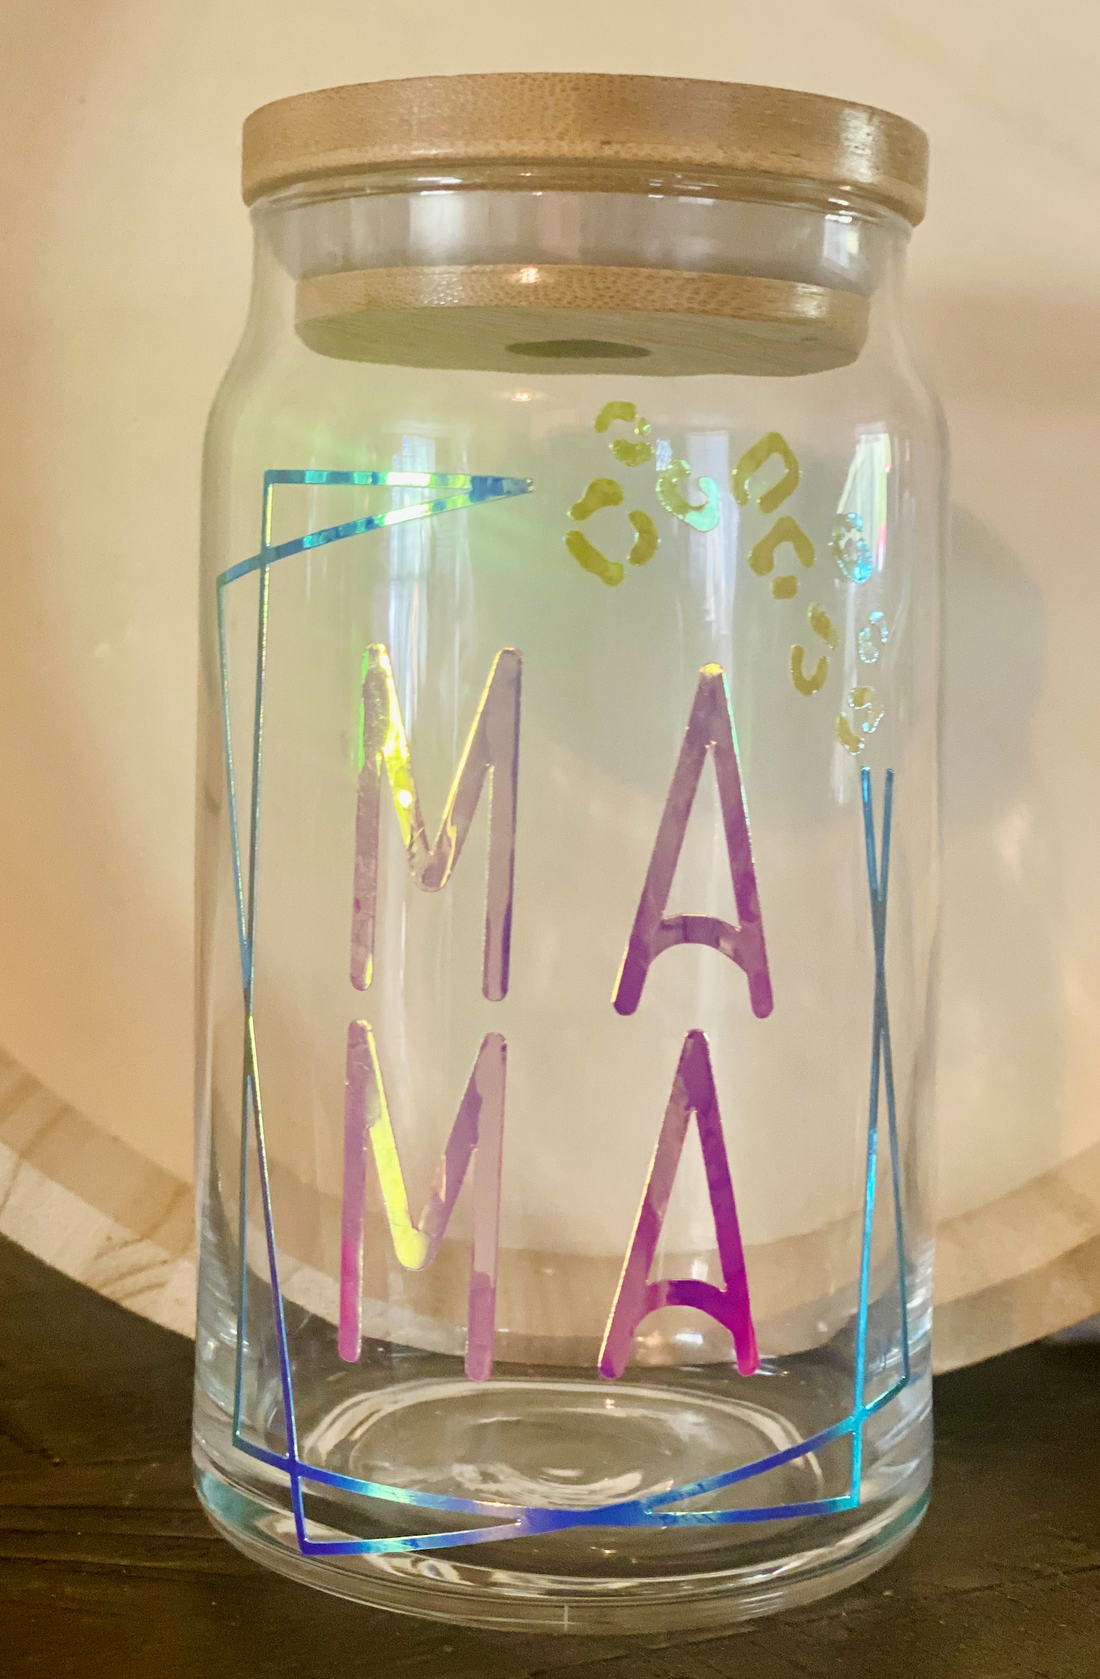
Tips & Tricks for using Chameleon Craft Vinyl
Level up from the boring and add multi- color changing effects to your custom products using Chameleon Craft Vinyl.
Prepping Your Craft Vinyl
After you have picked a design to cut, place the vinyl shiny side up on your mat. You do not need to mirror your images.

You want to make sure you cut your Craft vinyl on a vinyl setting. * If you are not getting a clean cut you can apply more pressure on the same material setting.

Weed your design
Use your weeding tool to help you with the small pieces.


Application
Be sure that the item you are applying the vinyl to is clean and free of any lint. You can use a lint roller and wipe down with an alcohol wipe, if needed.

A trick for helping with application alignment of a craft vinyl image, is to use a piece of parchment paper to lay across your item for you to place your transfer image on top of and adjust your image as needed.

Once your image is in the desired place, you can use the hinge method to press down on one side of your transfer tape and pull the parchment paper out from underneath.

Press firmly from the center out and use your squeegee tool to remove any bubbles. If you need a video process, check out our Youtube Tutorial here.

Protect your creations

If you want to extend the look of a glass or wooden project, you can always use a clear acrylic sealer over the Chameleon craft vinyl to preserve your designs.
Be sure to check out our "How to" Video on our YouTube Channel and shop our amazing products and more at gojdc.com