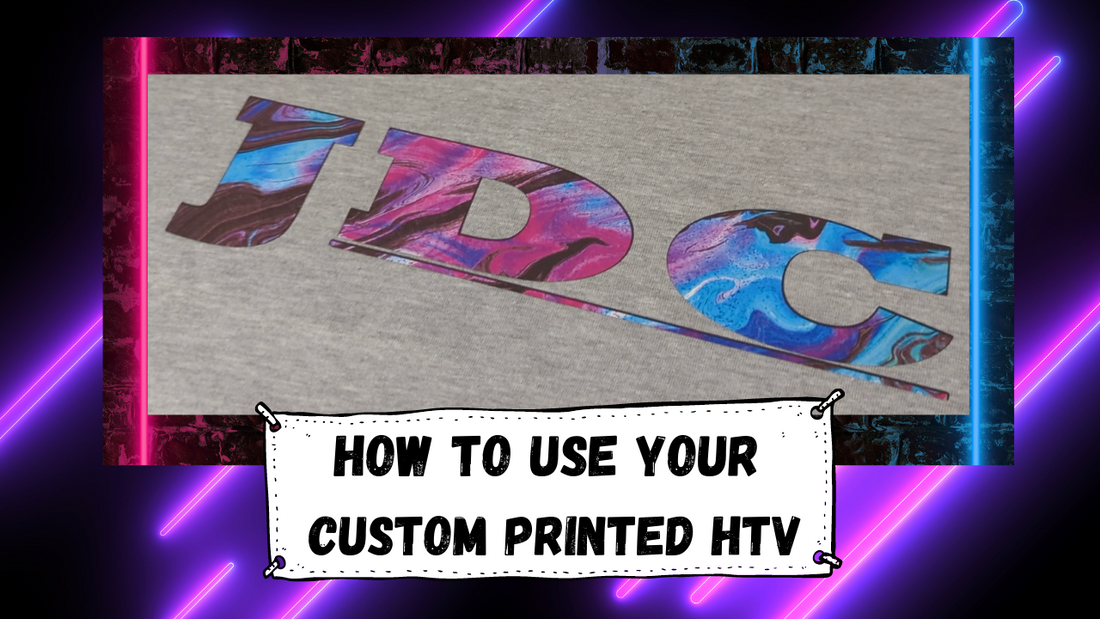
How To Apply Custom Printed HTV
Share
Designs with many colors take a lot of time and energy to create with standard HTV colors as each color needs to be cut, weeded, and pressed individually. This is where digitally printed HTV transfers can be very useful. Here we are going to review how to apply your custom printed HTV.
Applying your Custom Printed HTV
Here is an overview of the process you will use to apply your custom prints to your apparel.
Weed Excess Material
Have a flat, clean surface to work on. Be sure to have your transfer film handy.

Depending on your order, you may have some weeding to do. Carefully use your weeding tool to remove any small pieces.
Apply Transfer Film
This is the most asked about step in the application process.

Once all weeding is done, you are ready to apply your transfer film to the front of your printed image.

Take you time here. You will want to use the "hinge method" to get the best results when applying transfer film.
Preparing to Heat Press
Next we'll want to prep your transfer for application to your apparel.

Flip your transfer over, grab your wedding tool, and peel off the clear backing. Be sure to peel slowly and straight back to ensure you don't lift your transfer by mistake.
Pressing Your Transfer
Now you are ready to place and align your image on the garment.

(Optional but Recommended) Place a non-stick sheet over the top of the image.
Press your image for 15 seconds at 310 degrees.

Peel the transfer film straight back to reveal your finished product. If you notice any lifting of the printed transfer, stop, re-press, and allow the transfer to cool slightly before attempting to remove the transfer film again.
Voila!
You are ready to sport your new shirt or get it packaged up and sent to your customer.

Let us know if you have any questions on any of the custom print process and how we can help you in your crafting adventures. Be sure to check out our Youtube Channel for more step by step tutorials of our various products available on our site.
Have a great day!
